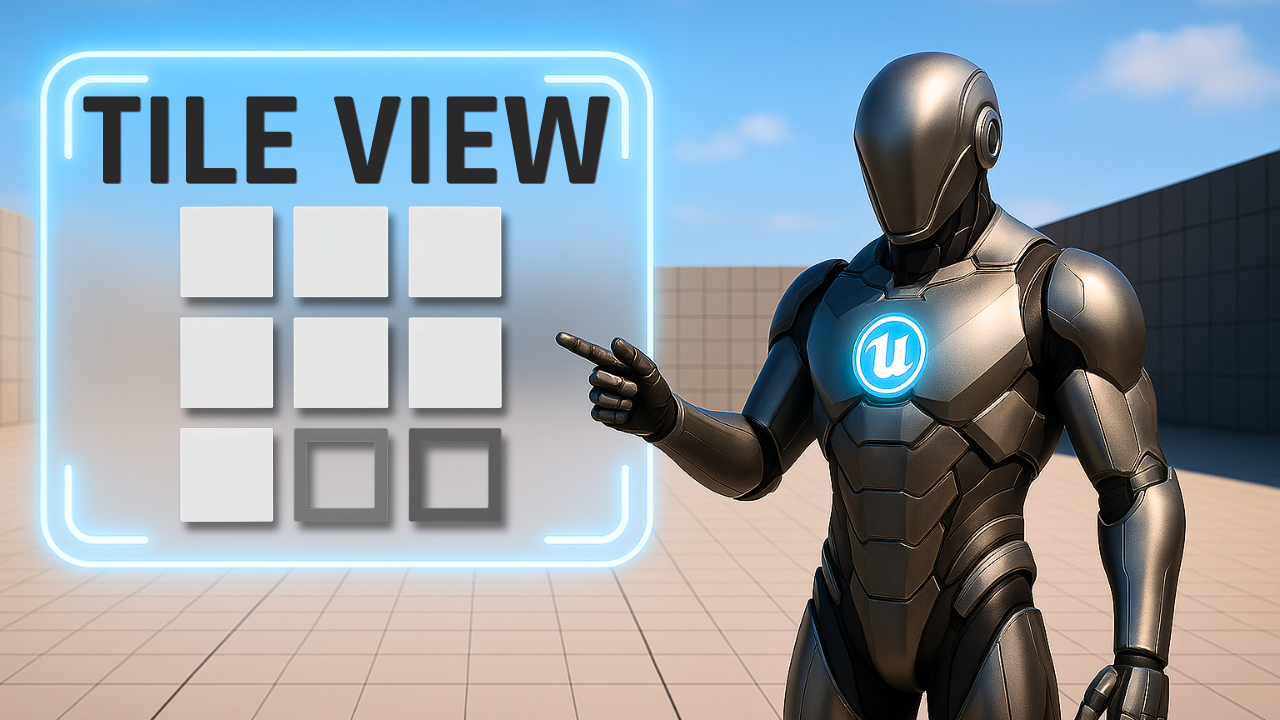
TileView Unreal Engine 5 – Dynamic UI with Blueprints & Structs

Published: June 05, 2025 • Series: Widget Blueprint Series • Level: intermediate
This is Rambod, and today we’re building a dynamic TileView system in Unreal Engine 5.
TileView is one of the most powerful UMG widgets: it lets you display arrays of data as a flexible, scrollable grid. Perfect for inventories, menus, galleries, and selection screens.
By the end of this tutorial you’ll have:
✅ A custom struct for your tile data
✅ A Blueprint Object to carry that data
✅ A Tile Entry Widget that displays text + color dynamically
✅ A main widget with a TileView populated at runtime
✅ A working system that scales with your array
1) Creating the Main TileView Widget
- In the Content Drawer, right-click → User Interface → Widget Blueprint.
- Name it
WBP_TileView. - Open it and add a Canvas Panel as root.
- Drag a TileView into the Canvas.
TileView settings:
- Anchor = Center
- Position X = 0, Y = 0
- Size X = 300, Y = 200
- Alignment X = 0.5, Y = 0.5
- Rename to
TileViewand check Is Variable. - Under List Entry, set Entry Height = 100, Entry Width = 100.
👉 This ensures each tile will be a neat 100×100 block in the grid.
2) Creating the Tile Entry Widget
- In TileView’s Entry Widget Class, click the + button to create a new Widget Blueprint.
- Name it
WBP_TileWidget. - Open it and set Screen Size = Custom, 100×100.
- Add an Overlay as root (great for stacking).
Inside the Overlay:
- Add an Image → rename to
Image_Tile, check Is Variable.- Alignment = Fill (H + V)
- Padding = 2
- Add a Text Block → rename to
TextBlock_Tile, check Is Variable.- Alignment = Center (H), Bottom (V)
- Text = “Text”
- Color = Black
Selection event:
- In the Graph, under Interfaces, double-click On Item Selection Changed.
- Print the tile’s text with Print String → helps debug what gets selected.
3) Creating the Tile Struct
- Right-click → Blueprints → Structure.
- Name it
TileStruct. - Add variables:
TextDisplay(Text)Color(SlateColor)
👉 This keeps the data clean: each tile has a label and a tint color. You can expand it later (icons, IDs, etc.).
4) Creating a Blueprint Object for Tile Data
- Right-click → Blueprint Class → expand → Object.
- Name it
BP_TileObject. - Open it and add a variable:
TileData(TileStruct)- Check Instance Editable and Expose on Spawn.
💡 This makes it easy to pass structured data into each Tile entry when creating it.
5) Populating the Tile Data Array
Inside WBP_TileView:
- Add a variable
Tile_List(Array ofTileStruct). - Fill it with about 8 dummy items (different text labels + random colors).
This acts as your data source.
6) Wiring Tile Data into the TileView
In the Graph of WBP_TileView:
- On Event Construct:
- Drag in
Tile_List. - Use a ForEach Loop.
- For each element:
- Construct Object from Class →
BP_TileObject. - Set its
TileDatato the current struct. - Add Item → connect the object to
TileView.
- Construct Object from Class →
- Drag in
👉 Now the TileView will automatically spawn entries for every struct in your array.
7) Binding Data with OnEntryInitialized
- Select the TileView → bind On Entry Initialized.
- In the Graph:
- Cast
Widget→WBP_TileWidget. - Cast
Item→BP_TileObject. - Get
TileData→ BreakTileStruct. - Set TextBlock_Tile → SetText =
TextDisplay. - Set Image_Tile → Set Brush Tint Color =
Color.
- Cast
✅ Each tile now displays its unique text + color from your array.
8) Showing TileView in the Level
To test it:
- Open Level Blueprint.
- On Event Begin Play:
- Create Widget →
WBP_TileView. - Add to Viewport.
- Create Widget →
👉 Run the game: your TileView displays a grid of items, fully driven by your struct array.
9) Subtitle Expansion (Full Tutorial Flow)
“This is Rambod. TileView is a grid-based list widget — perfect for inventories or galleries. Start by creating
WBP_TileViewand adding a TileView widget, centered at 300×200. Set entry size to 100×100. CreateWBP_TileWidgetas the entry widget, with an Overlay, Image, and Text Block. The image fills the tile, and the text sits centered at the bottom. Next, create aTileStructwithTextDisplayandColor. Then createBP_TileObject(Blueprint Object) holding aTileDatavariable of that struct. InWBP_TileView, make aTile_Listarray of structs with dummy data. On Construct, loop through the array, construct aBP_TileObjectfor each, and add it to the TileView. Then bindOnEntryInitialized: cast Widget toWBP_TileWidget, cast Item toBP_TileObject, break the struct, set the text and image tint. Finally, in Level Blueprint, createWBP_TileViewon Begin Play and add it to the viewport. Run it: you’ll see a dynamic, data-driven TileView grid. Clean, flexible, and scalable.”
10) Wrap-Up
We’ve built a data-driven TileView system:
- Custom Struct (
TileStruct) → defines data. - Blueprint Object (
BP_TileObject) → stores struct. - Tile Entry Widget (
WBP_TileWidget) → shows data. - Main Widget (
WBP_TileView) → loops and populates grid. - Level Blueprint → displays it at runtime.
💡 From here you can expand with:
- Icons instead of colors
- Selection highlighting
- Item actions on click
- Drag-drop functionality
👉 Watch the full tutorial: YouTube Link
👉 More UI tips: rambod.net
👉 Subscribe: Rambod Dev
Support
Support My Work
If my projects, tutorials, or research help you ship faster, you can back the work directly with crypto. Every contribution keeps the channel ad-light and the repos open.