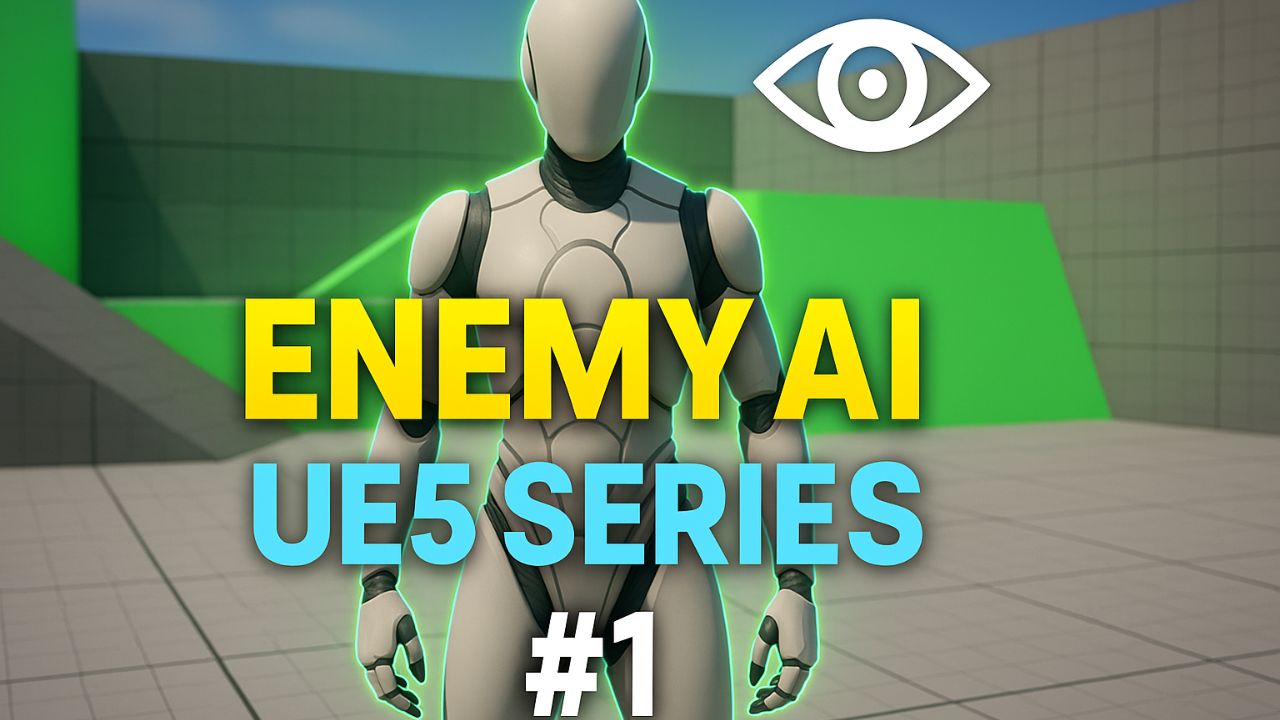
Unreal Engine 5 Enemy AI Series #1 – Setting Up Enemy Blueprint & AI Sight Blueprint Only
Part 1 of the Enemy AI Series in UE5. Learn to set up a new project, organize folders, and create your first enemy character with AI Sight using only Blueprints—no C++ required.
Welcome to Part 1 of the Unreal Engine 5 Enemy AI Series!
In this beginner-friendly episode, we’ll start from scratch and create our first enemy character with working AI sight, entirely in Blueprints. No C++ required.
🌟 What You’ll Learn
- Creating a brand-new Unreal Engine 5.6 project using the Third Person template
- Best practices for folder organization in larger projects
- Building a custom Enemy Character Blueprint
- Assigning a skeletal mesh and linking an animation blueprint
- Adding the AI Perception component
- Configuring AI Sight: radius, lose sight, peripheral vision, and debug colors
- Placing the enemy in the level
- Using the Perception Debug Tool to confirm detection
📝 Chapters
- 0:00 – Introduction & What We’re Building
- 0:12 – Step 1: Create the Project
- 0:52 – Step 2: Create Folders for Organization
- 1:14 – Step 3: Create the Enemy Character Blueprint
- 1:33 – Step 4: Set Up the Enemy Mesh and Animation
- 2:10 – Step 5: Add the AI Perception Component
- 2:25 – Step 6: Configure AI Sight Settings
- 3:17 – Step 7: Place the Enemy in the Level
- 3:28 – Step 8: Test and Visualize AI Sight
- 4:12 – Summary & Next Steps
🔨 Step 1: Create the Project
- Open the Unreal Project Browser.
- Under Games, select Third Person template.
- Do not use variants, just the standard Third Person template.
- Set Project Type = Blueprint.
- Target platform = Desktop.
- Quality preset = Maximum.
- Name your project AIUnreal.
- Choose a location and click Create.
👉 This project will later be uploaded to GitHub so you can follow along.
📂 Step 2: Organize Folders
Inside the Content Drawer:
- Right-click → New Folder → name it
AI. - This is where all AI-related Blueprints will live.
- You’ll also see default folders like
Characters,Input,LevelPrototyping, andThirdPerson. Keep them, but focus onAIfor now.
👾 Step 3: Create Enemy Character Blueprint
- Inside the
AIfolder → Right-click → Blueprint Class. - Pick Character as the parent class.
- This gives your enemy basic movement & collision.
- Name it BP_EnemyGuard.
🦴 Step 4: Mesh & Animation Setup
- Open BP_EnemyGuard.
- Select the Mesh component in the Components panel.
- In Details → Mesh, set Skeletal Mesh to SKM_Quinn_Simple.
- Under Animation, set:
- Animation Mode = Use Animation Blueprint
- Anim Class = ABP_Unarmed
- Under Transform, adjust:
- Location Z =
-80 - Rotation Yaw =
-90
- Location Z =
👉 This aligns the mesh properly with the world.
👁️ Step 5: Add AI Perception
- With BP_EnemyGuard still open, go to Components panel.
- Click Add → search AI Perception.
- Add it. This is Unreal’s built-in perception system.
🔧 Step 6: Configure AI Sight
- Select AI Perception in Components.
- In Details → Dominant Sense, set to AI Sense Sight.
- Expand Senses Config:
- Click
+→ choose AI Sight Config.
- Click
- Adjust values:
- Sight Radius: distance enemy can see.
- Lose Sight Radius: how far player must go before AI loses sight.
- Peripheral Vision Half Angle: set to
90(for full 180° forward vision). - Debug Color: set to Green for visibility.
- Expand Detection by Affiliation:
- Check Detect Neutrals.
- By default, the player counts as neutral. Without this, AI won’t see you.
Click Compile & Save.
🏹 Step 7: Place Enemy in Level
- Drag BP_EnemyGuard from Content Drawer into your main level.
- Position it anywhere you want testing.
🔍 Step 8: Test & Visualize
- Click Play.
- While the game is running:
- Press the apostrophe (
') key. - Then on numpad, press 4.
- This opens the Perception Debug View.
- Press the apostrophe (
- You’ll see:
- Green lines & a sphere = Sight range.
- If player enters range → debug shows “Sight”.
- Age counter starts when AI loses sight of player.
👉 This confirms your AI sees the player with Blueprint-only AI Sight.
🎥 Subtitle (Narration Flow)
“This is Rambod. In this first video, we’ll set up our UE5 project for the Enemy AI Series. Step 1: Create a Third Person project named AIUnreal. Step 2: Organize folders, add an AI folder. Step 3: Create BP_EnemyGuard based on Character. Step 4: Assign SKM Quinn Simple mesh, use ABP Unarmed animation, fix Z offset and yaw. Step 5: Add AI Perception component. Step 6: Configure Sight radius, lose sight radius, peripheral vision, and detection affiliation—tick Detect Neutrals. Step 7: Place BP_EnemyGuard in level. Step 8: Play, press apostrophe + numpad 4 to visualize AI sight. You’ll see green debug lines and detection info. Now your enemy has working AI sight, 100% in Blueprints. Next video, we’ll expand logic for patrol and detection responses.”
✅ Summary
By now you have:
- A clean UE5 project with organized folders
- A BP_EnemyGuard with mesh, animation, and AI Perception
- Configured AI Sight with radius, vision cone, and debug tools
- An enemy placed in the world that can visually detect the player
📦 Project files: GitHub Repo
👉 Watch the full tutorial: YouTube Link
👉 Subscribe for more: Rambod Dev Channel
💬 Questions? Drop them in comments, I answer every one.
🔔 Subscribe for Part 2: Enemy Patrol & Basic Detection Logic