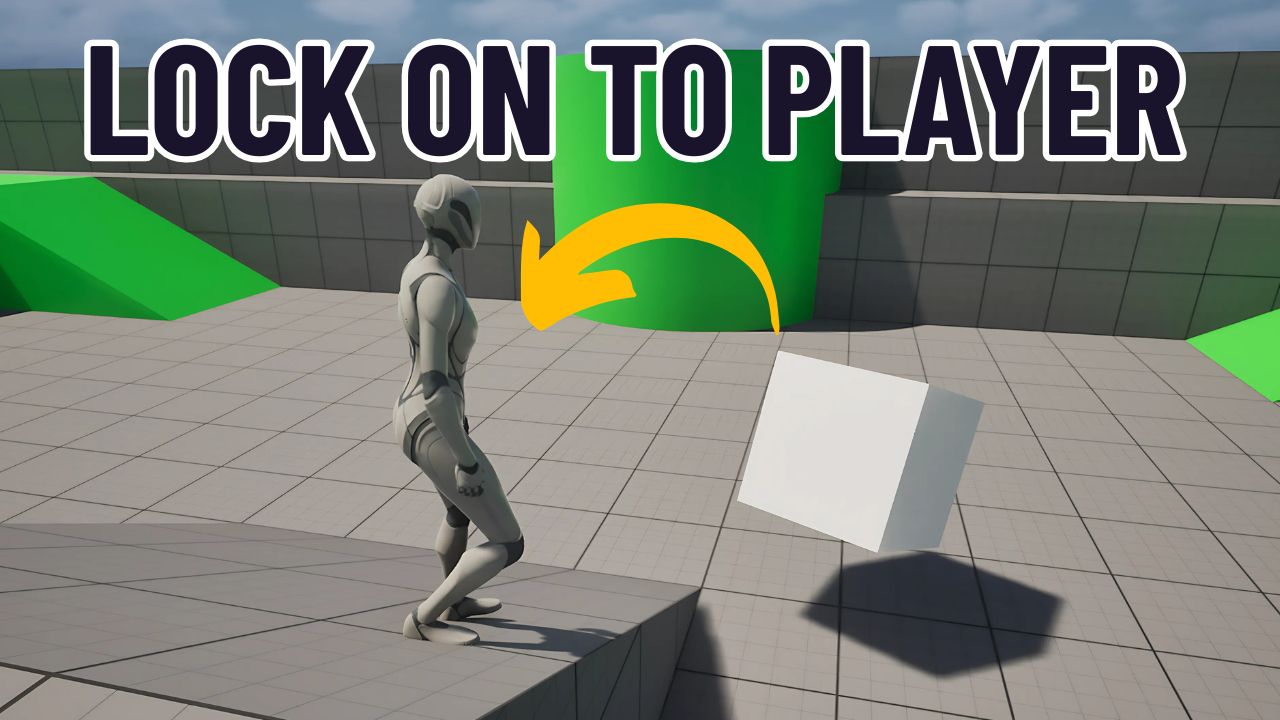
Make Actors Face the Player (Find Look at Rotation) in Under 3 Minutes
Quick UE5 Blueprint tutorial: use Find Look at Rotation + Set Actor Rotation so actors always face the player.
Welcome back, it’s Rumbod 👋
In this quick tip, we’ll build the look-at logic in Unreal Engine 5 Blueprints — making any actor always face the player.
This method uses only a few nodes and works in the Third Person Template.
It’s simple, modular, and reusable for enemies, turrets, cameras, or any target you want to track.
🎯 What You’ll Build
- An actor that rotates every frame to face the player
- A reusable Blueprint pattern for “always face target” logic
- Works in any project, not just the Third Person Template
📝 Chapters
- 0:00 – Intro – what we’re building & reuse
- 0:17 – Create Blueprint Actor (BP_EnemyActor)
- 0:32 – Add Cube component (mesh for visibility)
- 0:45 – Add Find Look at Rotation node
- 0:55 – Inputs explained (Start & Target)
- 1:03 – Start = Get Actor Location (self)
- 1:17 – Target = Player Pawn Location
- 1:35 – Apply with Set Actor Rotation
- 1:49 – Drive it from Event Tick
- 2:04 – Place Blueprint in level
- 2:11 – Play and test
- 2:22 – Outro & what’s next
⚙️ Step 1: Create the Blueprint Actor
- Open the Content Drawer → right-click → Blueprint Class.
- Select Actor as the parent class.
- Name it
BP_EnemyActor(or any name you prefer).
Open the new Blueprint.
⚙️ Step 2: Add a Mesh for Visualization
- In the Components Panel, click Add → Cube.
- This will give the actor a visible mesh so you can easily see the rotation in-game.
⚙️ Step 3: Add Find Look at Rotation
- Go to the Event Graph.
- Near Event Tick, right-click → search Find Look at Rotation.
This node is the core of our setup.
- Start input = the actor’s own location.
- Target input = the player’s location.
- Return value = a rotator that points from Start → Target.
⚙️ Step 4: Connect Start (Self Location)
- Right-click → Get Actor Location.
- Connect its return value into Start on Find Look at Rotation.
Now the node knows where the rotation begins.
⚙️ Step 5: Connect Target (Player Location)
- Right-click → Get Player Pawn.
- From its return value → Get Actor Location.
- Connect that into Target on Find Look at Rotation.
This tells the node to always aim toward the player.
⚙️ Step 6: Apply the Rotation
- Right-click → search Set Actor Rotation.
- Plug the return value of Find Look at Rotation into New Rotation.
- Connect Event Tick → Set Actor Rotation execution pin.
👉 With this, the actor updates its rotation every frame.
⚙️ Step 7: Test It
- Go back to the Viewport.
- Drag
BP_EnemyActorinto your level. - Press Play.
- Move your player character.
💡 You’ll see the cube continuously rotate to face the player — smooth, frame-by-frame.
✅ Final Result
- Actor constantly rotates to the player
- Works with any mesh or actor
- Can be reused for turrets, AI guards, cameras, or interactive objects
🧩 Nodes Used
- Find Look at Rotation
- Get Actor Location (Self)
- Get Player Pawn
- Get Actor Location (Player)
- Set Actor Rotation
- Event Tick
🔮 Next Up
I’ll continue working on the Enemy AI Series and RTS Camera Series after my short vacation.
Meanwhile, I’ll release quick, modular tips like this so you can keep improving your Unreal skills without long videos.