Unreal Engine 5.5: Display FPS Using Widget Blueprint | Quick Tutorial
Display FPS in Unreal Engine 5.5 using a Widget Blueprint. Enable FPS in viewport, create a widget, bind delta seconds, and show FPS on screen easily.
This is Rambod and in this quick tutorial we will learn to show FPS inside your game using a simple Widget Blueprint in Unreal Engine 5.5. It is easy to set up and super useful for monitoring performance.
1) Enable FPS in the viewport
- In the top menu, enable Show FPS.
- This makes sure you know the current performance baseline and it confirms the value we will bind later is correct.
2) Create a new Widget Blueprint
- Open the Content Drawer.
- Right click, go to User Interface → Widget Blueprint.
- Pick User Widget and name it something like
WBP_HUD. - Double click to open it.
3) Build the widget
- From the Palette, drag in a Canvas Panel.
- Then add a Text Block inside it.
- Resize and style it if you want, but keep it simple for now.
- Check Is Variable and rename it to
FPS.
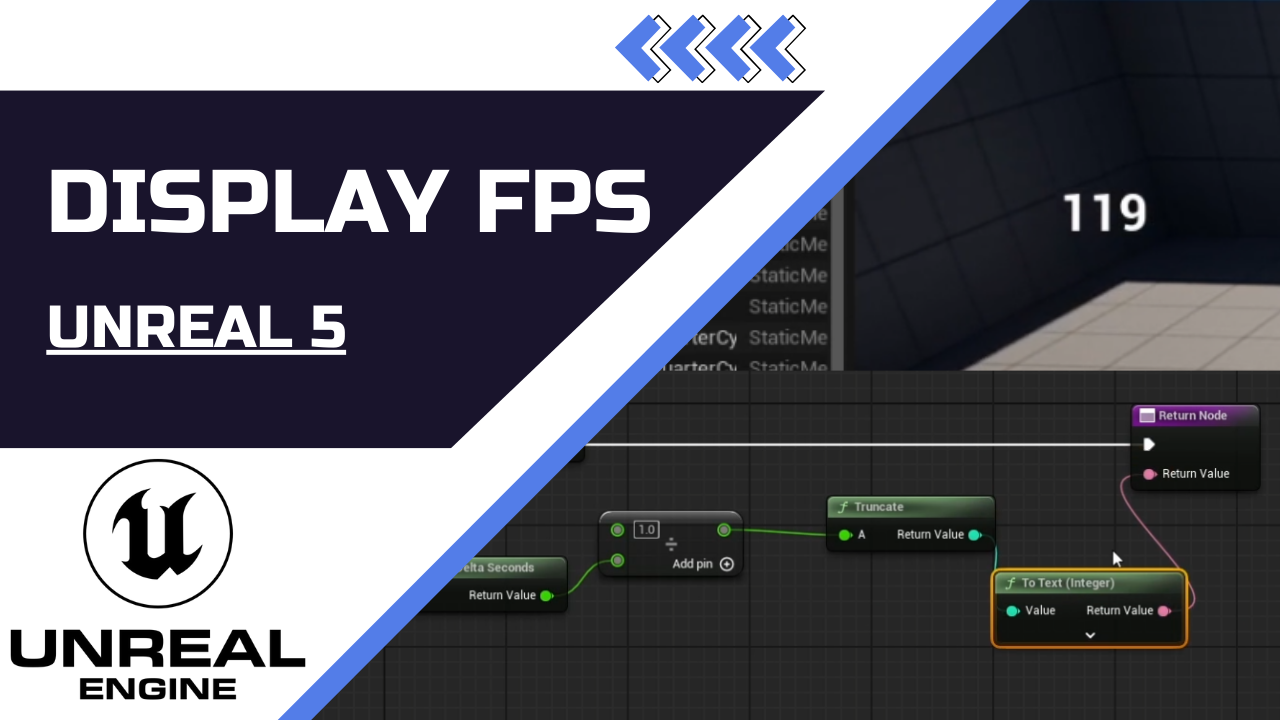
4) Bind the FPS value
- In the Content Binding, create a new function.
- Use Get World Delta Seconds node.
- Divide 1 by this value to get frames per second.
- Truncate it to an integer.
- Connect to the return node.
- This will update the text with the current FPS.
5) Add the widget to your game
- Open your Third Person Character Blueprint.
- In Event Begin Play, add a Create Widget node.
- Select your
WBP_HUDclass. - Connect it to an Add to Viewport node.
- Compile and save.
Wrap up
Run the game and you will now see your FPS displayed right on the screen, updating in real time. This is a small but powerful addition that helps you keep track of performance while testing.
For more Unreal Engine tutorials, check out rambod.net, subscribe on YouTube, or watch this video directly here: Watch on YouTube.