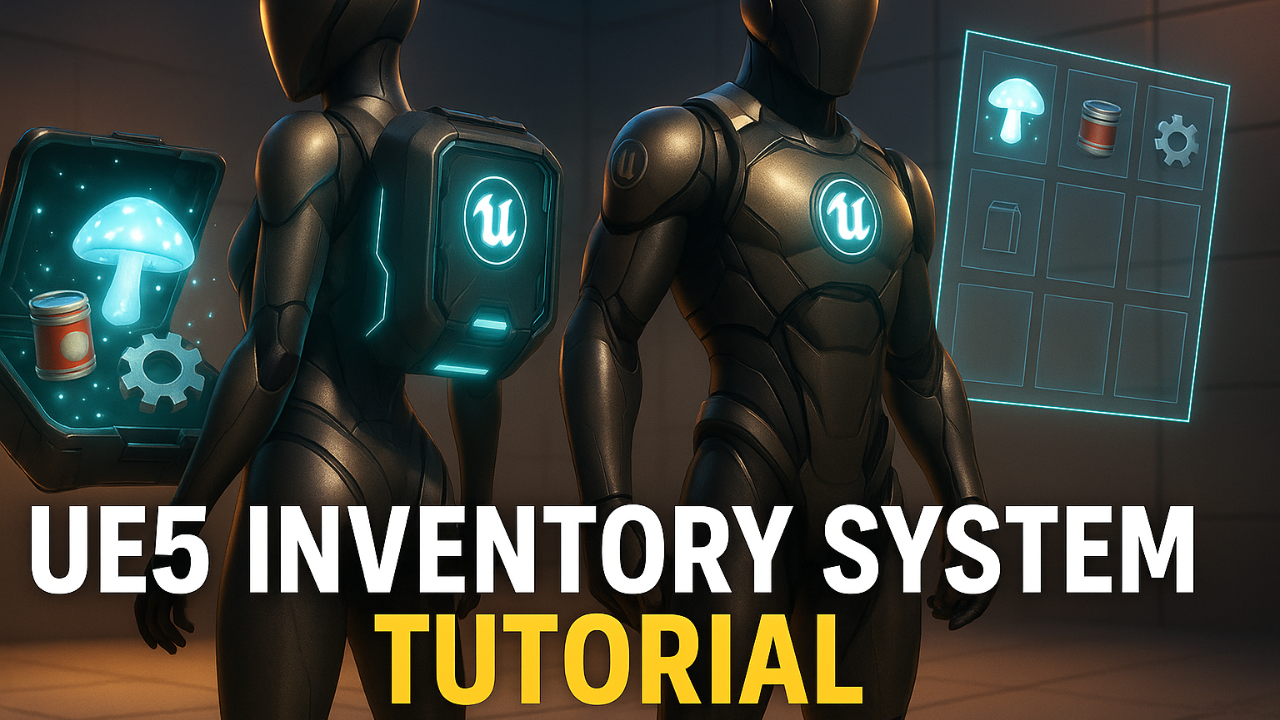
Unreal Engine Blueprint Inventory Systems in Under 30 Minutes!
Step-by-step guide to build a clean, expandable inventory system in UE5 using Blueprints, UMG, and interfaces. Beginner-friendly yet production-ready.
This is Rambod, and in this guide we’ll build a fully functional, expandable inventory system in Unreal Engine 5 — all in under 30 minutes.
We’ll use Blueprints, UMG, and Interfaces to keep everything modular and scalable. The system works in the Third Person Template but can be reused in RPGs, survival games, or top-down projects.
By the end, you’ll have:
✅ Pickups with modular data
✅ Clean UI built in UMG with grid layout
✅ Add/remove/stacking logic inside a component
✅ Automatic pickup logic using interfaces
✅ Drop button logic with UI refresh
✅ A toggle key for showing/hiding the inventory
1) Structuring Inventory Data
- In the Content Drawer, right-click → Blueprints → Structure.
- Name it
InventoryItemStruct. - Add these variables:
ItemName(Text) → display nameItemID(Integer) → unique identifierItemIcon(Texture2D) → image for UIQuantity(Integer) → stack count
Default values: name empty, ID = 0, Icon = none, Quantity = 1.
This struct ensures consistency across all items.
2) Creating the Inventory Component
- Right-click → Blueprint Class → Actor Component.
- Name it
InventoryComponent. - Inside, add a variable
InventoryItemsof type Array of InventoryItemStruct.
This array stores all player items.
Using a component keeps logic modular — attachable to characters, NPCs, or containers.
3) Writing the Add Item Function
Inputs
Item(InventoryItemStruct)
Logic
- Break the struct.
- Loop through existing items (
ForEach). - Compare
ItemID. - If found → add quantities and update with Set Array Element.
- If not found → append the new item.
✅ Supports stacking automatically.
✅ Easily expandable for features like rarity, weight, or durability.
4) Writing the Remove Item Function
Inputs
ItemID(Integer)
Logic
- Loop through
InventoryItems. - If match found → Remove Index.
- Exit immediately.
This removes items safely and efficiently.
5) Building the Inventory Interface
Interfaces make pickups reusable.
- Right-click → Blueprint Interface →
BPI_InventoryInteract. - Add two functions:
GetItemData→ Output: InventoryItemStructOnCollected→ no inputs/outputs
Any actor with this interface can provide its item data and clean itself up when collected.
6) Creating the Pickup Actor
- Blueprint Class → Actor →
BP_PickupItem. - Add components:
- Static Mesh (visual)
- Sphere Collision (interaction radius 50)
- Add variable
ItemData(InventoryItemStruct).- Set Instance Editable + Expose on Spawn.
- Implement Interface functions:
GetItemData→ returnItemData.OnCollected→DestroyActor.
- Sphere → Collision → Overlap All Dynamic, enable Generate Overlap Events.
This makes pickups modular, data-driven, and auto-destroyable.
7) Auto-Pickup in the Player
Inside BP_ThirdPersonCharacter:
- Add Inventory Component.
- Use
Event ActorBeginOverlap. - Check if OtherActor Implements Interface (
BPI_InventoryInteract). - If true:
- Cast to
BP_PickupItem. - Call
GetItemData(interface message). - Call
AddItemon the inventory component. - Call
OnCollectedto destroy the pickup.
- Cast to
Now pickups auto-add themselves to the inventory.
8) Creating the Item UI Widget
-
Create Widget Blueprint →
WBP_InventoryItem. -
Designer setup:
- Canvas Root.
- Image (100x100, centered).
- Button (100x40, bottom aligned).
- Text inside button → “Drop”.
-
Graph:
- Add variable
ItemData(InventoryItemStruct, Expose on Spawn). - On Button Click:
- Get PlayerCharacter → Cast to BP_ThirdPersonCharacter.
- Get Inventory Component.
- Call
RemoveItemwith ItemID.
- Add variable
-
Bonus:
- On Event Construct, Set Brush from Texture using
ItemData.ItemIcon.
- On Event Construct, Set Brush from Texture using
This widget handles item visuals and removal.
9) Creating the Main Inventory Panel
-
Create Widget Blueprint →
WBP_InventoryPanel. -
Designer:
- Canvas Root → Content Panel (400x600, left center).
- Uniform Grid Panel → variable name
ItemGrid. - Background Image (dark, alpha 0.2, Z-order 5).
- Close Button (150x50, bottom center).
-
Graph:
- On Close Click → Remove from Parent.
- On Construct → Clear Children in grid, then:
- Get PlayerCharacter → Cast → Get Inventory Component.
- Get
InventoryItems. - For Each: Create
WBP_InventoryItemwith data. - Add Child to Grid: calculate Row = Index / MaxColumns, Col = Index % MaxColumns.
✅ Alignment nodes: Set Horizontal + Vertical Alignment to Fill.
✅ Added Custom Event: UpdateInventoryList to refresh after drops.
10) Input Toggle for the Panel
In BP_ThirdPersonCharacter:
- Add I Key input.
- Use Flip-Flop:
- A: Create
WBP_InventoryPanel→ Add to Viewport → Set Input Mode Game and UI → Show Cursor true. - B: If valid, Remove From Parent → Set Input Mode Game Only → Show Cursor false.
- A: Create
Now the player can open/close the inventory cleanly.
11) Drop Logic Integration
Inside WBP_InventoryItem:
- Already wired drop button to
RemoveItem. - After removing, call
UpdateInventoryListon the Inventory Panel to refresh UI instantly.
12) Testing with Icons
Use game-icons.net (free) to grab icons like:
- Mushroom
- Canned Fish
- Backpack
Import them into Unreal.
Then place BP_PickupItem actors in the level with unique data (Name, ID, Icon, Quantity).
Optionally assign meshes for in-world visualization.
13) Final Test
- Hit Play.
- Walk into items → pickups disappear.
- Press I → inventory panel opens with icons + quantities.
- Click “Drop” → item removed from list.
✅ Clean, expandable system
✅ Modular pickups and UI
✅ Safe add/remove logic
✅ Efficient toggling
Wrap Up
We’ve built a solid, production-ready inventory system in under 30 minutes:
- Inventory data struct for consistency
- Component-based storage with Add/Remove logic
- Pickup actor with modular interface
- Auto-pickup logic for the player
- Reusable item widget + grid panel
- UI toggle with input handling
- Drop functionality with refresh
From here, you can expand with:
- Stack limits
- Item consumption effects
- Equipment slots
- Drag & drop UI
👉 Watch the full tutorial on YouTube
👉 Subscribe for future parts: Rambod Dev Channel