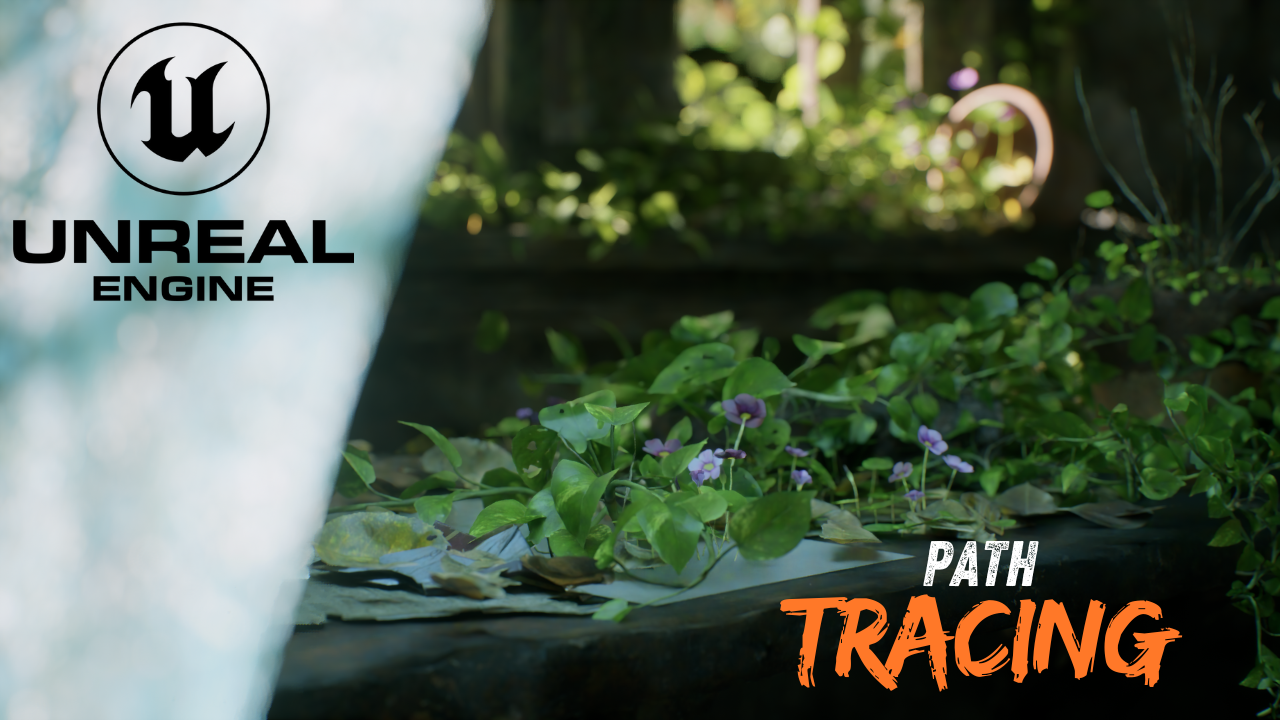
Unreal Engine 5 High Quality Image Rendering with Path Tracing
Render high-quality images in Unreal Engine 5 using Path Tracing and Movie Render Queue. Learn setup, anti-aliasing, and output settings for cinematic results.
This is Rambod and in this tutorial we learn how to render high-quality still images in Unreal Engine 5 using Path Tracing and the Movie Render Queue. With the right settings, you can achieve cinematic results for archviz, concept art, and game promotion.
⚠️ Correction Note:
In the video, Spatial Sample Count and Temporal Sample Count were left at 1. This does not improve quality and can cause noisy results.
For best output:
- Set Spatial Sample Count to
16+. - Set Temporal Sample Count to
8+. - Ensure Anti-Aliasing Method is set to Temporal Sample.
1) Enable Path Tracing
- In the viewport, click View Mode → Path Tracing.
- This replaces Lumen or Raster with ray-traced accuracy.
- Ideal for stills and cinematic-quality renders.
2) Enable Movie Render Queue
- Go to Edit → Plugins.
- Search for Movie Render Queue.
- Enable it and restart Unreal.
- This plugin gives you professional-grade output control.
3) Create a sequence and bind a camera
- Open the Content Drawer → Cinematic → Level Sequence.
- Create or use an existing camera actor.
- Add it to the sequence using the Camera Cuts track.
- Set the timeline to capture just a single frame for still rendering.
4) Configure Movie Render Queue
- Click Render Movie and open settings.
- Remove default presets not needed for this workflow.
- Add:
- Anti-Aliasing (use Temporal Sample).
- PNG Sequence for high-quality output.
- Path Tracing enabled.
- Increase Resolution Multiplier (x2 or more) for sharper results.
5) Preview and render
- Before rendering, confirm Path Tracing is active.
- Preview in the viewport to see the quality.
- Click Render Local to generate your image.
- Find the PNG output in your chosen directory.
Wrap up
You now know how to produce high-quality, path-traced images in Unreal Engine 5. Perfect for portfolios, presentations, and archviz work. Adjust sampling values for even cleaner results and experiment with resolution to match your project’s needs.
For more Unreal Engine tutorials, check rambod.net, subscribe on YouTube, or watch this tutorial here: Watch on YouTube.