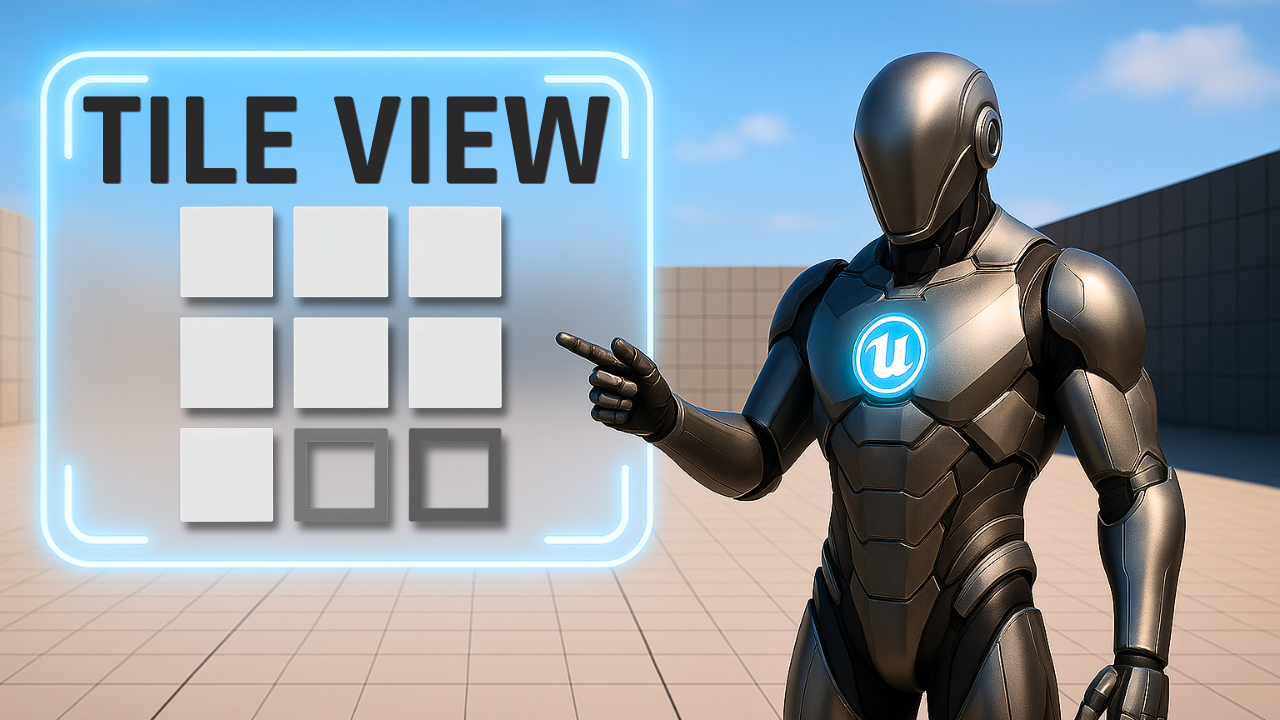
TileView Unreal Engine 5 – Dynamic UI with Blueprints & Structs
Build dynamic UI grids in UE5 using TileView, Blueprints, and struct arrays. Learn to populate tiles with data, text, and colors for scalable game menus and lists.
This is Rambod, and today we’re building a dynamic TileView system in Unreal Engine 5.
TileView is one of the most powerful UMG widgets: it lets you display arrays of data as a flexible, scrollable grid. Perfect for inventories, menus, galleries, and selection screens.
By the end of this tutorial you’ll have:
✅ A custom struct for your tile data
✅ A Blueprint Object to carry that data
✅ A Tile Entry Widget that displays text + color dynamically
✅ A main widget with a TileView populated at runtime
✅ A working system that scales with your array
1) Creating the Main TileView Widget
- In the Content Drawer, right-click → User Interface → Widget Blueprint.
- Name it
WBP_TileView. - Open it and add a Canvas Panel as root.
- Drag a TileView into the Canvas.
TileView settings:
- Anchor = Center
- Position X = 0, Y = 0
- Size X = 300, Y = 200
- Alignment X = 0.5, Y = 0.5
- Rename to
TileViewand check Is Variable. - Under List Entry, set Entry Height = 100, Entry Width = 100.
👉 This ensures each tile will be a neat 100×100 block in the grid.
2) Creating the Tile Entry Widget
- In TileView’s Entry Widget Class, click the + button to create a new Widget Blueprint.
- Name it
WBP_TileWidget. - Open it and set Screen Size = Custom, 100×100.
- Add an Overlay as root (great for stacking).
Inside the Overlay:
- Add an Image → rename to
Image_Tile, check Is Variable.- Alignment = Fill (H + V)
- Padding = 2
- Add a Text Block → rename to
TextBlock_Tile, check Is Variable.- Alignment = Center (H), Bottom (V)
- Text = “Text”
- Color = Black
Selection event:
- In the Graph, under Interfaces, double-click On Item Selection Changed.
- Print the tile’s text with Print String → helps debug what gets selected.
3) Creating the Tile Struct
- Right-click → Blueprints → Structure.
- Name it
TileStruct. - Add variables:
TextDisplay(Text)Color(SlateColor)
👉 This keeps the data clean: each tile has a label and a tint color. You can expand it later (icons, IDs, etc.).
4) Creating a Blueprint Object for Tile Data
- Right-click → Blueprint Class → expand → Object.
- Name it
BP_TileObject. - Open it and add a variable:
TileData(TileStruct)- Check Instance Editable and Expose on Spawn.
💡 This makes it easy to pass structured data into each Tile entry when creating it.
5) Populating the Tile Data Array
Inside WBP_TileView:
- Add a variable
Tile_List(Array ofTileStruct). - Fill it with about 8 dummy items (different text labels + random colors).
This acts as your data source.
6) Wiring Tile Data into the TileView
In the Graph of WBP_TileView:
- On Event Construct:
- Drag in
Tile_List. - Use a ForEach Loop.
- For each element:
- Construct Object from Class →
BP_TileObject. - Set its
TileDatato the current struct. - Add Item → connect the object to
TileView.
- Construct Object from Class →
- Drag in
👉 Now the TileView will automatically spawn entries for every struct in your array.
7) Binding Data with OnEntryInitialized
- Select the TileView → bind On Entry Initialized.
- In the Graph:
- Cast
Widget→WBP_TileWidget. - Cast
Item→BP_TileObject. - Get
TileData→ BreakTileStruct. - Set TextBlock_Tile → SetText =
TextDisplay. - Set Image_Tile → Set Brush Tint Color =
Color.
- Cast
✅ Each tile now displays its unique text + color from your array.
8) Showing TileView in the Level
To test it:
- Open Level Blueprint.
- On Event Begin Play:
- Create Widget →
WBP_TileView. - Add to Viewport.
- Create Widget →
👉 Run the game: your TileView displays a grid of items, fully driven by your struct array.
9) Subtitle Expansion (Full Tutorial Flow)
“This is Rambod. TileView is a grid-based list widget — perfect for inventories or galleries. Start by creating
WBP_TileViewand adding a TileView widget, centered at 300×200. Set entry size to 100×100. CreateWBP_TileWidgetas the entry widget, with an Overlay, Image, and Text Block. The image fills the tile, and the text sits centered at the bottom. Next, create aTileStructwithTextDisplayandColor. Then createBP_TileObject(Blueprint Object) holding aTileDatavariable of that struct. InWBP_TileView, make aTile_Listarray of structs with dummy data. On Construct, loop through the array, construct aBP_TileObjectfor each, and add it to the TileView. Then bindOnEntryInitialized: cast Widget toWBP_TileWidget, cast Item toBP_TileObject, break the struct, set the text and image tint. Finally, in Level Blueprint, createWBP_TileViewon Begin Play and add it to the viewport. Run it: you’ll see a dynamic, data-driven TileView grid. Clean, flexible, and scalable.”
10) Wrap-Up
We’ve built a data-driven TileView system:
- Custom Struct (
TileStruct) → defines data. - Blueprint Object (
BP_TileObject) → stores struct. - Tile Entry Widget (
WBP_TileWidget) → shows data. - Main Widget (
WBP_TileView) → loops and populates grid. - Level Blueprint → displays it at runtime.
💡 From here you can expand with:
- Icons instead of colors
- Selection highlighting
- Item actions on click
- Drag-drop functionality
👉 Watch the full tutorial: YouTube Link
👉 More UI tips: rambod.net
👉 Subscribe: Rambod Dev