Part 7 – RTS Camera Edge Scrolling – Smooth Mouse Movement
Add edge scrolling to your RTS camera in Unreal Engine 5 with Game + UI mode, cursor lock, and smooth screen-edge movement using Blueprints.
Game & Tools Developer
Build production-ready UE systems faster with concise tutorials and real-world tools.
“this set of tutorials are incredible!! liked them a lot, very good explanations, and you care enough to give us tips of what might go wrong, and how to solve it! the "several smaller nav meshes" did the trick for me!”

Add edge scrolling to your RTS camera in Unreal Engine 5 with Game + UI mode, cursor lock, and smooth screen-edge movement using Blueprints.
Quick UE5 Blueprint tutorial: use Find Look at Rotation + Set Actor Rotation so actors always face the player.
Learn to set up clean RTS camera boundaries in UE5 using collision channels and blocking volumes—no math, just Blueprints.
Part 4 of the UE5 Enemy AI Series. Learn to build a distraction system with throwable objects, sound cues, and AI hearing perception—all in Blueprints.

Part 3 of the UE5 Enemy AI Series. Learn how to make enemies chase the player using AI Perception (Sight), speed changes, and Unreal’s forget system—then return to patrol automatically.
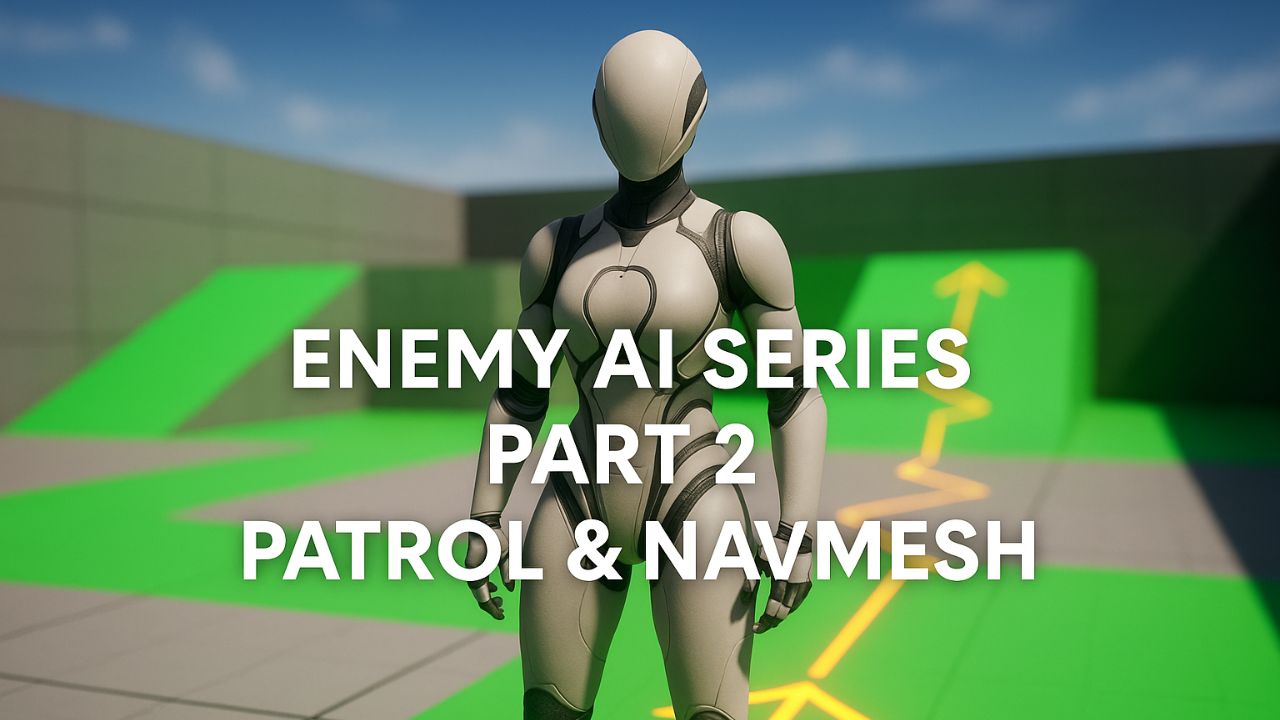
Part 2 of the UE5 Enemy AI Series. Learn to set up NavMesh, patrol paths, patrol loops, and fix sliding animation bugs—all in Blueprints with no C++ or Behavior Trees.
YouTube channel focused on modular Unreal Engine tutorials, AI systems, and development workflows. Designed as a growing library of reusable building blocks for game developers.

A modern Python email toolkit with SMTP, IMAP, OAuth2, Jinja2 templates, and async support. Secure, reliable, and production-ready.

Fast and easy audio conversion with C++ and ImGui. Supports MP3, WAV, FLAC, and more with bulk and batch processing.

Effortless image resizing with presets, custom dimensions, and batch processing for developers and designers.

Master flashcards on iOS, Android, and macOS with unlimited organization, two study modes, and flexible font and visibility settings.

Interactive Python learning with 17 chapters, 600+ quizzes, and projects for all levels. Available on iOS, Android, and macOS.
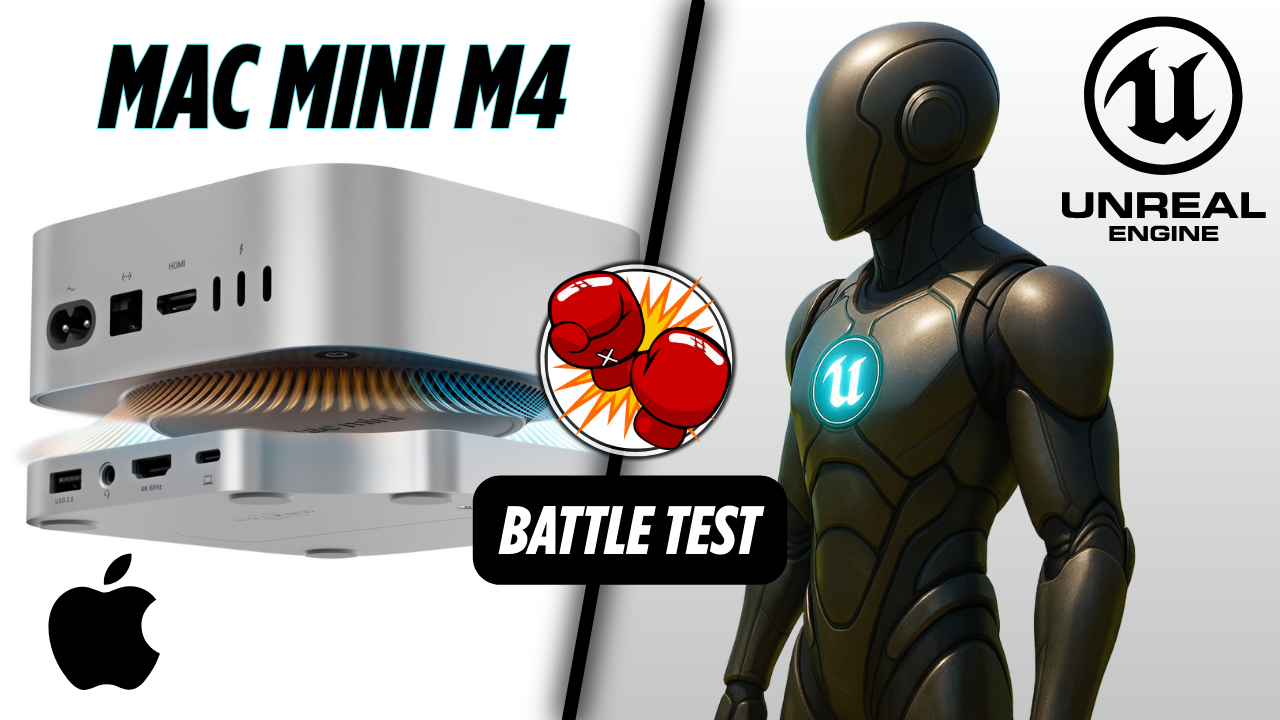
Battle testing the $599 Mac Mini M4 with Unreal Engine 5. From FPS template to Cyberpunk Rooftop benchmarks, internal SSD vs Minisopuru NVMe hub, OBS recording stress, and real developer conditions.
Rust is powerful and safe, but C++ still wins me over with clarity, control, and predictability in real-world projects.
Learn how to install Raylib with vcpkg, set it up in CLion, and build your first simple C++ project with a moving rectangle.
Chat with other developers, get help, and share your projects.
Get notified about new tutorials, deep dives, and more.