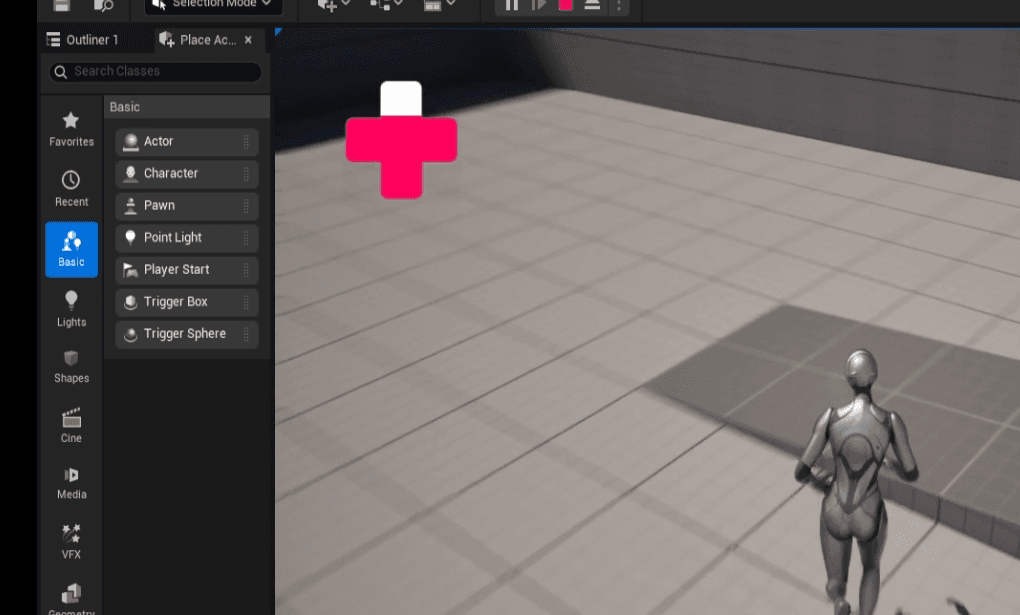
Learn how to add an Unreal Engine health UI to your game with this beginner-friendly tutorial. We’ll guide you step by step to create a health widget blueprint and bind health variables to a dynamic health bar. This health UI tutorial for Unreal Engine covers everything from setting up a clean and functional UI to integrating it seamlessly into your game. Discover how to add health bars in Unreal Engine, customize their appearance, and improve your game’s user experience.
Whether you’re new to game development or looking to enhance your skills, this guide will help you master the basics of UI design in Unreal Engine. From creating the health widget blueprint to binding health variables, we provide easy-to-follow steps to bring your vision to life. Perfect for beginners and experienced developers, this Unreal Engine health UI tutorial will elevate your game’s functionality and polish.
By the end of this guide, you’ll have a fully working health UI, complete with a dynamic health bar, ready to be integrated into your next project. Don’t miss this opportunity to learn how to create a professional and engaging health bar for your Unreal Engine game.
Why Add a Health UI?
A health UI provides critical information to players about their character’s well-being during gameplay. It helps:
- Engage Players: Gives clear feedback on the player’s health status.
- Enhance Gameplay: Adds immersion and utility for players.
- Learn Widgets: Improves your understanding of Unreal Engine’s widget blueprint system.
By following this guide, you’ll have a working health bar seamlessly integrated into your game.
Step 1: Create the Health Widget
- Open your Unreal Engine project.
- Click on the Content Drawer and right-click inside it.
- Navigate to User Interface, then select Widget Blueprint and choose User Widget.
- Name your widget something like
WBP_HUDorWBP_Health, and open it.
This widget will serve as the foundation for your health bar UI.
Step 2: Add the Progress Bar to the Widget
- In the Palette panel, search for
Canvas Paneland drag it into the widget’s hierarchy. - Next, search for
Progress Barand drag it into theCanvas Panel. - Adjust the size and position of the progress bar to fit your desired layout.
- Customize the appearance of the progress bar:
- Set the Background Image to a health icon or a neutral color.
- Set the Fill Image to red or a color that represents health.
Compile and save the widget once you’re happy with the design.
Step 3: Bind the Health Variable to the Progress Bar
To dynamically update the health bar, bind it to a blueprint function:
- Select the
Progress Barin the widget and click on Create Binding. - In the generated function, use the Get Player Character node to access the player blueprint.
- Cast it to your player blueprint (e.g.,
BP_ThirdPersonCharacter). - Retrieve the health variable from the character blueprint.
- Divide the health value by a maximum value (e.g., 100 or 200) to normalize it between 0 and 1.
- Connect the output to the
Return Node.
This ensures the health bar updates dynamically during gameplay.
Step 4: Add the Widget to the Game
To display the health bar in the game, follow these steps:
- Open your Character Blueprint.
- Locate or create the
Event Begin Playnode. If it’s not present, override it. - Add a Create Widget node and select the widget class you created (
WBP_HUD). - Use the Add to Viewport node to add the widget to the screen.
Compile and save your blueprint.
Step 5: Test the Health Bar
- Play the game, and you’ll see the health bar on the screen.
- As your character takes damage, the health bar will dynamically decrease to reflect the current health value.

Congratulations! You’ve successfully created and implemented a health UI for your game.
Tips for Customization
- Styling: Experiment with colors, fonts, and images to make the health bar fit your game’s theme.
- Positioning: Move the health bar to different corners or areas of the screen for better visibility.
- Advanced Features: Add animations or effects to the health bar to make it more engaging.
Conclusion
A health UI is a critical part of any game’s design, providing players with essential feedback during gameplay. By following this guide, you’ve learned how to create and integrate a dynamic health bar into your Unreal Engine project.
For more tutorials and tips on Unreal Engine, game development, and UI design, visit Rambod.net.
Resources for Unreal Engine Health UI
Here are some valuable resources to help you dive deeper into Unreal Engine and health UI creation:
- Official Unreal Engine Documentation
Comprehensive documentation covering all aspects of Unreal Engine, including widget blueprints and UI creation. - Widget Blueprint Basics
Learn the fundamentals of widget blueprints for creating dynamic user interfaces in Unreal Engine. - Unreal Engine Blueprint API
Explore the Blueprint API for detailed information on nodes and their functionality. - Unreal Engine UI Design Course
Free learning materials to enhance your skills in UI and game design using Unreal Engine. - Rambod.net: Beginner’s Guide to Unreal Engine UI
Check out more beginner-friendly tutorials and tips for creating stunning UIs in Unreal Engine.
Related Articles
- Unreal Engine 5.5 MegaLights Tutorial | Boost FPS with One Setting! – Rambod
- Unreal Engine 5.5: Creating a Day/Night Cycle with the Day Sequence Feature – Rambod
